NTA® Implant

nta-implant

NTA IMPLANT
SURFACE: "SLA"

Primary stability and SLA osseointegration

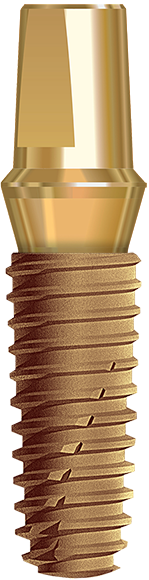
NTA Implant uses an SLA-treated surface and an 11° conical implant–abutment connection specified for primary stability at placement. The fixture is indicated for one-stage protocols and aesthetic sites per IFU. The taper is designed to limit micro-movement and bacterial leakage at the interface.

Surface processing and biocompatibility

The SLA (sand-blasted, large-grit, acid-etched) surface is specified to increase bone–implant contact (BIC).

Macro and micro roughness: Corundum grit-blast and acid etch produce 2–4 μm pits intended to support osseointegration.

Non-porous finish: The surface is not micro-porous, so closed recesses for bacterial colonization are not created. Peri-implantitis risk still depends on hygiene and the IFU.

Surface chemistry: X-ray photoelectron spectroscopy (XPS) confirms a titanium dioxide (TiO2) outer layer on the fixture.

Connection and seal

Connection specified for mechanical stability and a sealed implant–abutment interface:

11° conical connection: The taper is designed for a cold-weld effect between fixture and abutment, limiting micro-movement and micro-leakage at the interface.

Platform switching: The implant–abutment junction is inset toward the fixture axis, a geometry associated with crestal-bone and soft-tissue maintenance.

Hex index: Indexes the abutment so it seats at the specified angle.

Surgical and design features

Placement and restorative handling:

Root form: A root-shaped body intended to distribute occlusal load and reduce contact with adjacent roots during osteotomy and insertion.

Self-tapping threads: Cutting edges form the thread in bone, reducing insertion-torque heat versus a fully tapped osteotomy when used per IFU.

Mount-free: The fixture is carried from the package with a fixture driver — no mount component.

Diameter and length range: Options for documented bone types and anatomic sites per IFU.

Straight–tapered body: Longer fixtures add a straight mid-body so the osteotomy axis is less likely to drift during insertion.


BROCHURE AND DOCUMENTS

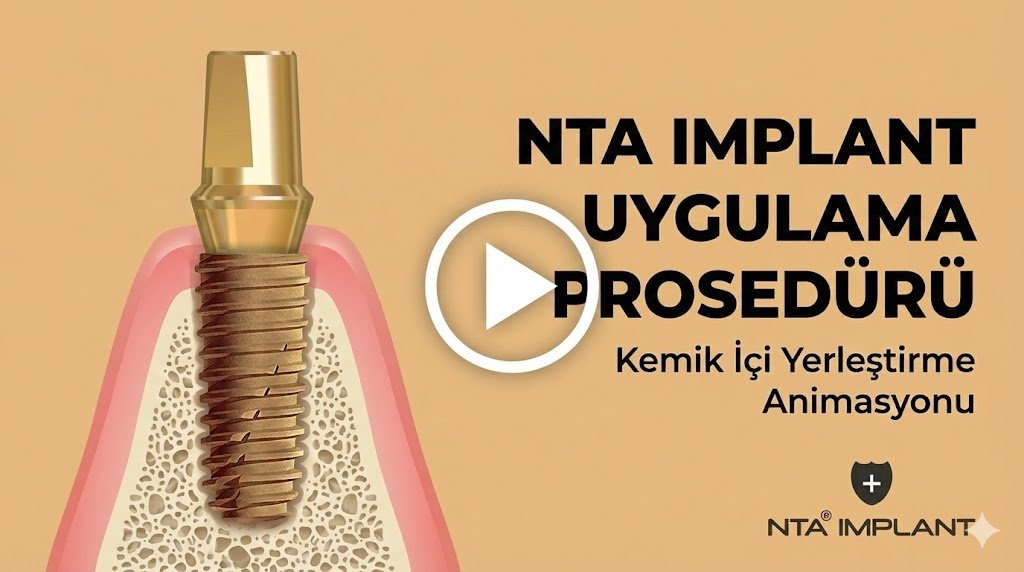
NTA Implant placement procedure

3D animation of the NTA Implant osteotomy and placement sequence. Follow the IFU.

Request clinical information

Use the form for product or protocol questions. The clinical support team will reply.

    Are you a healthcare professional?

    Some pages are written for dentists and other healthcare professionals.